How Does the Merlin Bird ID App Work?
If you’re looking for a new way to track your birds there are a handful of different available apps that offer ways to look up sightings and log new species. One of the best apps that’s available, and free, is from the leading birding resource, Cornell Labs. If you’re wondering how does the Merlin Bird ID app work, then this post will show you how step-by-step.
When you open the app you’ll be taken to the home screen that’s organized into four central tabs and four icons across the bottom:
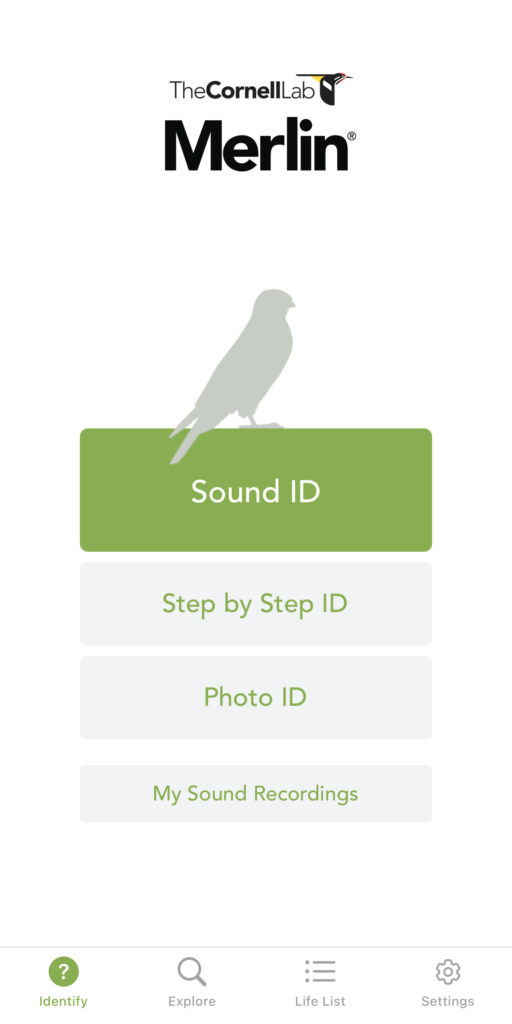
Starting with the center of your screen you’ll see
- Sound ID
- Step By Step ID
- Photo ID
- And My Sound Recordings
The icons across the bottom will be
- Identify
- Explore
- Life List
- And your Settings
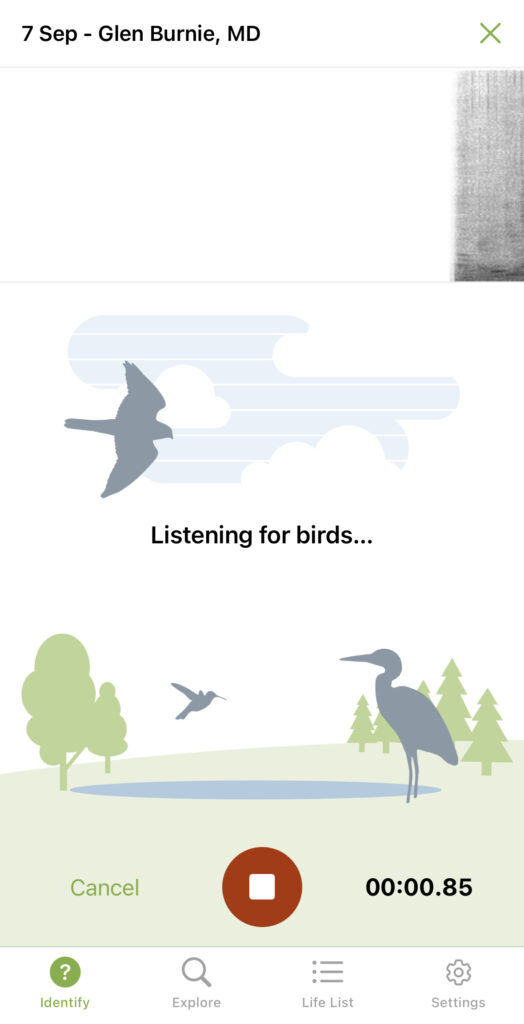
Let’s say you’re out on a hike and you hear an unfamiliar bird sound. Open the app, and hit Sound ID. The recording starts immediately after tapping the button and will listen for any birds nearby. There’s not an exact distance range I’ve discovered, but the closer you are the better.
You’ll notice a sound wave screen at the top, and your potential list will appear in the center.
If you stop recording you’ll notice three horizontal tabs near the bottom that read: Start New Recording, Explore Nearby Birds, Report No Matches.
If it recognizes any potential bird species a list will start to form under the sound wave. Once you feel like it’s no longer identifying any species you can stop recording and listen to each bird that appears on your list.
Be mindful when playing back recordings when you’re out exploring. Some wildlife areas prohibit the use of playback when you’re in wildlife, and there are other ethical reasons for not using playback sounds as well. You can learn more about this here.
If you feel good about your selection you’re going to tap the bird that matches the sound you heard and you can say the “it’s my bird” button and add it to your life list. Congratulations!
If you have Ebird installed it will first ask if you want to track it to that app first, or just keep it all within the Merlin app.
What’s great about the sounds you collect is they will be stored in your sound library under the “My Sound Recordings” tab. This is a great place to revisit different sounds you may have captured, but also where you were located as well. You can scroll through the different sounds and also tap bird information.
Logging birds in Merlin with a photo
If you’re no longer on the trail, and you weren’t able to capture the sound of the bird, you can still log your bird sightings with a photograph. Sometimes I don’t want to explore with my phone constantly out and will just focus on taking my pictures. I’ll go back after my outing and upload the picture to the device, and then look up any species I may not have known I was around, but captured a photo of.
On the Home Screen, you’re going to tap Photo ID, and two buttons will appear. Take Photo and Choose Photo.
If you’re seeing the bird in the moment you can take a photo, but if you want to check photos after your visit you can choose a photo from your device. Just keep in mind that there is no file access to your photos, so you only have the option of uploading photos you have on your phone. So if they’re in the cloud you’ll need to store them on your device.
Once you’ve selected your photo a new window appears with your image. Zoom the image to fill the box and hit the Next button.
A lot of the sightings are based on time of year and location, so you’ll enter that information on the next screen.
The location box is pretty specific, but it will let you select a place from the map.
Once you’ve used the app for a while, it will start to store previous locations that you’ve been to and log your birds.
Most photos have time stamps, but If it pulls up incorrectly you can also change the date.
Hit the Identify button and see which birds pull up.
The app is going to do its best based on the image, location, and time frame, so just know that it isn’t perfect. You may have times when it pulls up multiple species or just an incorrect bird.
With each bird that pulls up, you can tap on the species to learn more about its characteristics, its different versions, and location. If you tap a bird’s location and it’s on a different continent than it’s supposed to be at that time of year, it’s a good chance that it’s not your bird.
If nothing pulls up you can tap that no species were available to add data to the app.
You can also listen to the different bird sounds as well, but remember the playback info from earlier in the video.
Alright, so you don’t have a sound, and you don’t have a picture, but you were walking to work and you saw a species you didn’t recognize. When you go to Step By Step Identification you’ll have multiple prompts that you can use to narrow down the possible species.
Tap the Step by Step tab and select the best option for your location.
The next screen will ask you to pick a date, and the following screen will have you select the size of the species you saw. Once you’ve tapped the circle it will show a prompt on the size range of the bird. Click next and select the main colors. You can pick up to three different colors here.
The next screen will ask which of the six activities it was participating in. Was it swimming or maybe on a fence?
Once you select its activity it will pull up a range of different birds that are potential species for your sighting.
At the top of the screen, you can select the detailed view of each bird with descriptions, or just tap the list to scroll through each species by name.
Any birds you’ve added to your life list will have blue check icons next to them. Your list is growing so fast!
You can tap on your sighting and add it to your list at the bottom. Congratulations on spotting a new bird to add to your list!
At any point during these prompts, you can swipe down to go back to the main screen.
Curious about what birds are around you in general?
From the bottom of the screen tap the Explore icon.
This is based on location, so hit the top right icon for location settings and select the location you’re in or the location you’re interested in learning more about. This will refine your bird list by different metrics including location, date, and how you want them sorted. If you’re just curious about new birds, you can also hide any birds you’ve already added to your list.
If you’re traveling to a new area you can select which installed bird pack you want as well. More on bird backs in a second.
The explore list will give you a list of bird species, and each line will provide a time range on when you’ll can expect to see it most frequently. September in central Texas? Be on the lookout for those Ruby Throated Hummingbirds!
Think you saw a Baltimore Oriole in January in the hill country? Not likely.
Once you’ve added new birds to your life list you can go back and admire all of your adventures in the Life List tab. If you want to learn how the species you can organize them by Family, or by time frame. Either Newest or Oldest first.
Your life list will tell you the time and state location, but not specific details.
Under the settings tab, you can access your account information, download more bird packs, and even connect the app to the Swarovski Optik dg spotter. This is a fantastic device with 8x magnification that can be used to submit sightings directly to the app with a push of a button.
If you’re traveling to a new country you can add different regions to your bird packs to ensure you have all of the species loaded.
They do take up a good amount of space, for example, the US pack with Texas and Oklahoma is 971 megabytes, so something to think about regarding space on your device.
I hope this tutorial helped you learn how does the Merlin Bird app work. If you found it useful hit that thumbs-up button, and if you’re not already, please subscribe to the Golden Cheek YouTube channel for more bird locations, gear reviews, and How-tos.
Until next time, get out there and enjoy those birds! If you’re looking for any gear for getting out there, make sure you head to the Golden Cheek gift shop!